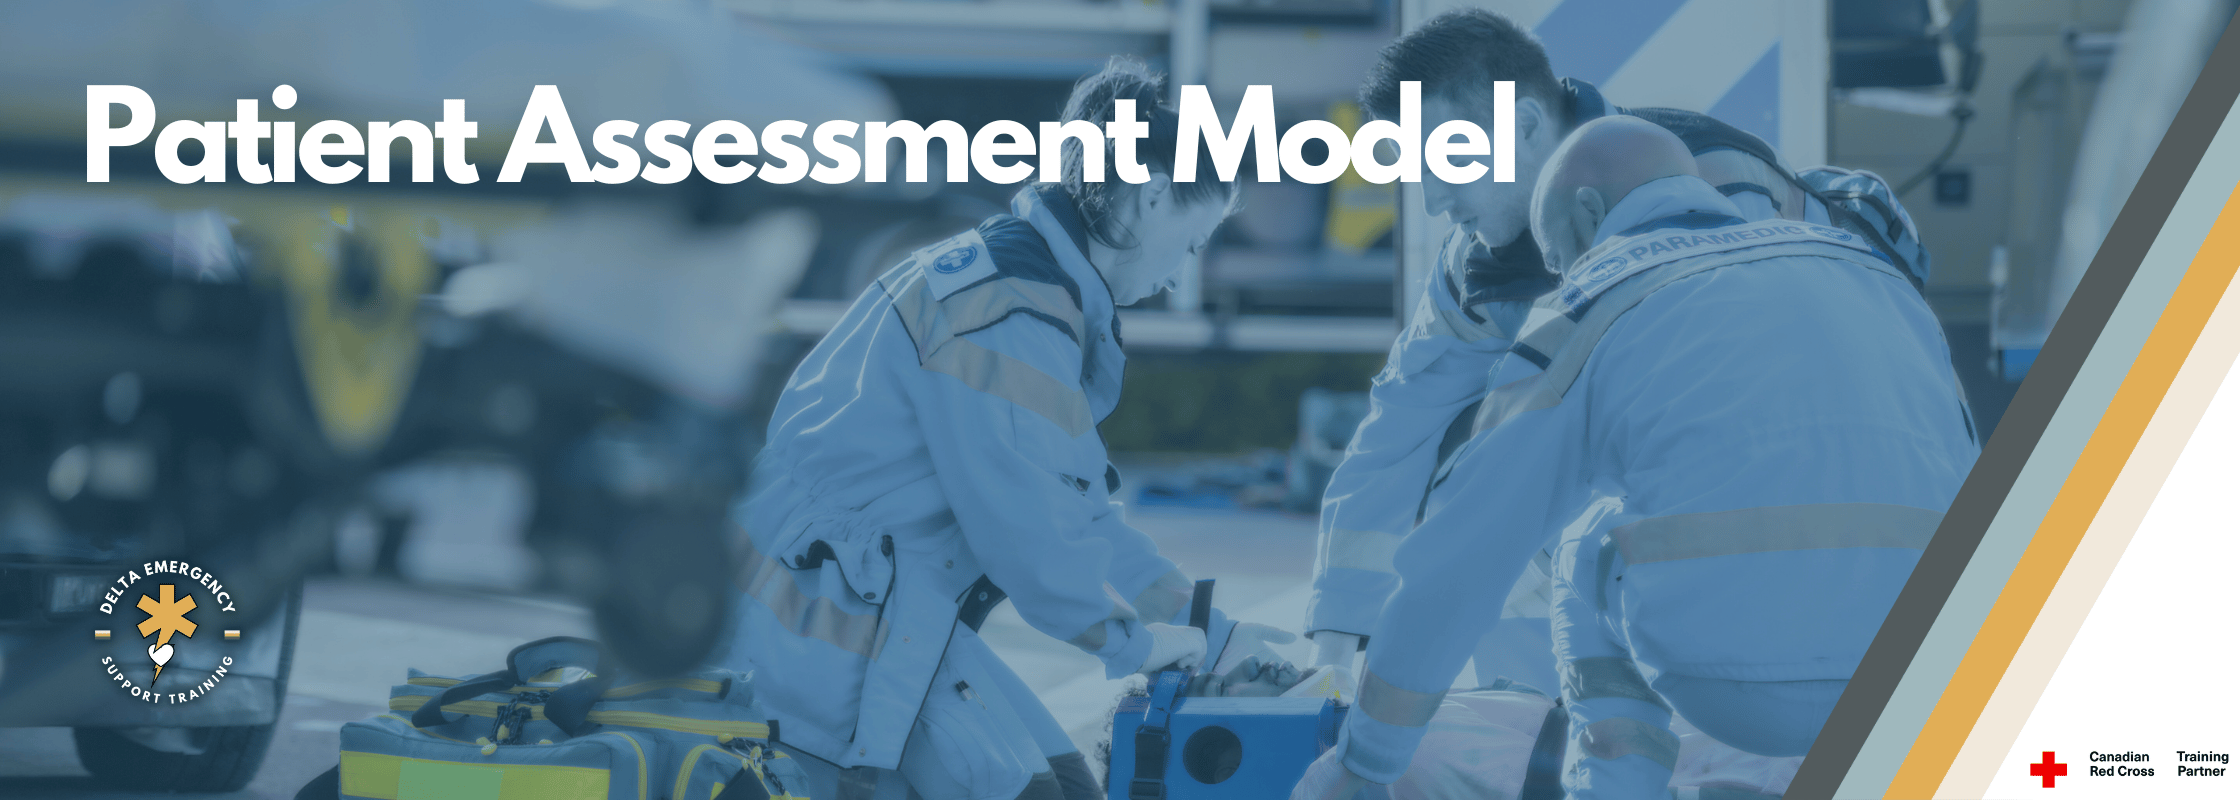
At Delta Emergency, we teach a streamlined and scenario-tested Patient Assessment Model (PAM) to help students confidently move through any medical or trauma situation. This model is designed with Red Cross Guidelines to support learning and created by experienced Advanced Care Paramedics to enhance real-world decision making by guiding you through a structured, logical, and repeatable flow of assessment and intervention.
Whether you’re working on a conscious medical patient, an unresponsive trauma patient, or anything in between, our PAM keeps you focused, organized, and effective.
Memorize the Patient Assessment Model
It’s your blueprint in chaos.
Emergencies are unpredictable. Memorizing the PAM ensures you don’t skip steps or overlook critical interventions.
It reinforces the Red Cross priorities.
While acronyms and sequences may vary from program to program (HEMPPA, DRABC, SAMPLE, OPQRSTA, etc.), the core priorities never change:
Level of Responsiveness (LOR)
Airway, Breathing, and Circulation (ABCs)
Interventions and Packaging
Rapid and Ongoing Assessment
Our PAM simply organizes these concepts into a clean, repeatable workflow.
Your key to passing scenarios.
The Red Cross standards expect students to follow a logical, prioritized assessment, even if the language or flow is different. Memorizing our PAM gives you a reliable reference point when practicing or testing, and lets instructors give you consistent feedback.
Create muscle memory.
The more you walk through our PAM in simulations, the more confidently you’ll apply it in the real world - on the road, in a rink, or at the scene.
But What If I Learned It Differently Before?
We get it, many programs use different acronyms, and you might have been taught another flow and that’s totally fine! The goal is not the acronym, the goal is patient care. We'll say it again:
If you prefer another sequence you’re welcome to use it, as long as it:
Covers all required assessment elements
Prioritizes critical interventions
Meets Red Cross standards for logic, safety, and thoroughness
Learn our PAM
It’s what we reference during class and feedback
It aligns with our simulation structure and skill sheets
It ensures you're covering all the required Red Cross competencies
Our PAM isn’t just a checklist, it’s a roadmap for critical thinking. Learn it. Practice it. Use it as your mental anchor when things get loud, stressful, or confusing. It’s how you pass your scenarios, and more importantly, it’s how you keep people alive.
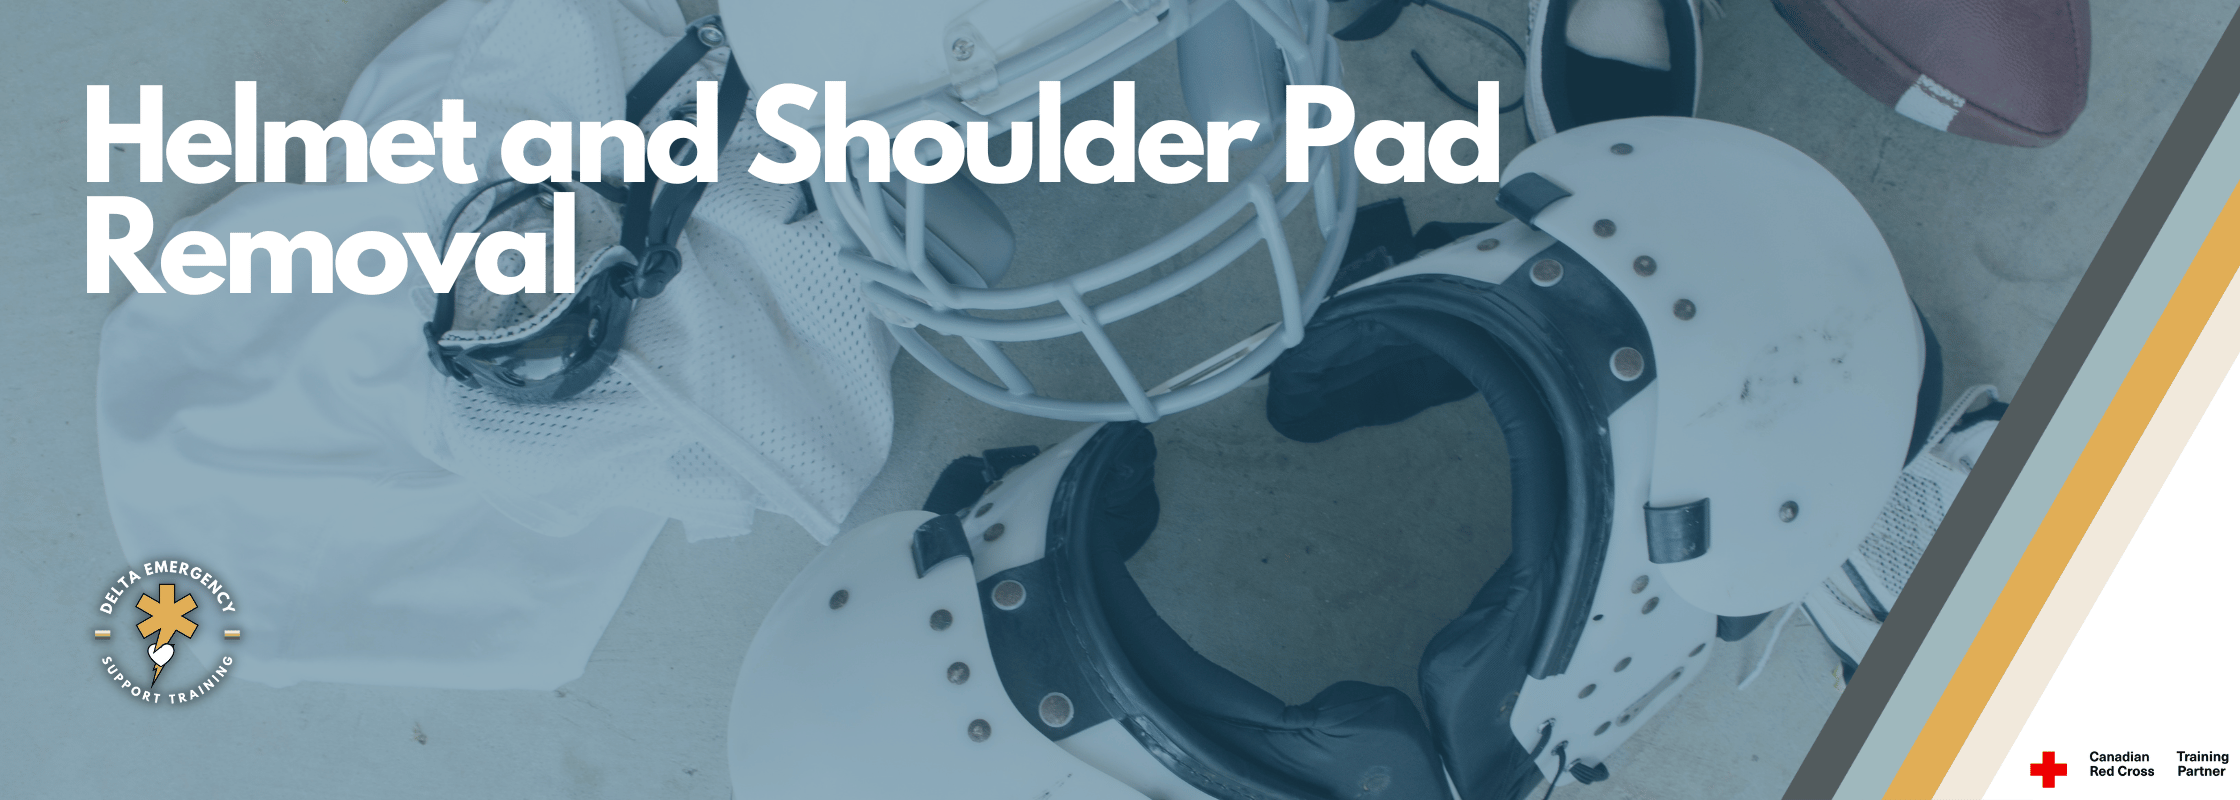
This topic is designed for first responders, athletic trainers, and emergency medical personnel who may need to remove helmets and shoulder pads in emergency situations. It covers the technical skills required for safe removal, the identification of potential head, neck, and spine injuries, concussion awareness, and the adherence to Red Cross recommendations for emergency assessments and interventions.
This section outlines a detailed step-by-step process for safely removing a helmet and shoulder pads from a patient, particularly in scenarios where spinal motion restriction (SMR) is crucial. This process is designed to prevent further injury during the removal and is typically performed by at least two responders.
Section 1: Introduction to Emergency Situations
- Topic 1.1: Understanding the Mechanism of Injury
- Topic 1.2: Scene Safety and Initial Assessment
- Topic 1.3: Red Cross Recommendations for EMRs
Section 2: Recognizing Head, Neck, and Spine Injuries
- Topic 2.1: Identifying Signs of Serious Head and Spinal Injuries
- Topic 2.2: The Importance of Spinal Motion Restriction (SMR)
- Topic 2.3: Concussion Basics: Recognition and Management
Section 3: Equipment Removal Process
- Topic 3.1: Types of Helmets and Shoulder Pads
- Topic 3.2: Step-by-Step Guide for Safe Removal
- Subtopic 3.2.1: Removing the Helmet
- Subtopic 3.2.2: Removing Shoulder Pads
- Topic 3.3: Special Considerations for Different Sports and Equipment
Section 4: Aftercare and Transportation
- Topic 4.1: Post-Removal Assessment and Care
- Topic 4.2: Preparing for Transport
- Topic 4.3: Communication with Healthcare Facilities
Section 5: Practical Skills and Simulation
- Topic 5.1: Hands-on Practice with Equipment
- Topic 5.2: Scenario-Based Simulations
- Topic 5.3: Team Coordination in Emergency Situations
Upon completion, participants will have the knowledge and skills to effectively assess emergency situations involving head and spinal injuries, perform safe helmet and shoulder pad removal, understand concussion basics, and adhere to best practices and recommendations provided by the Red Cross for emergency care.
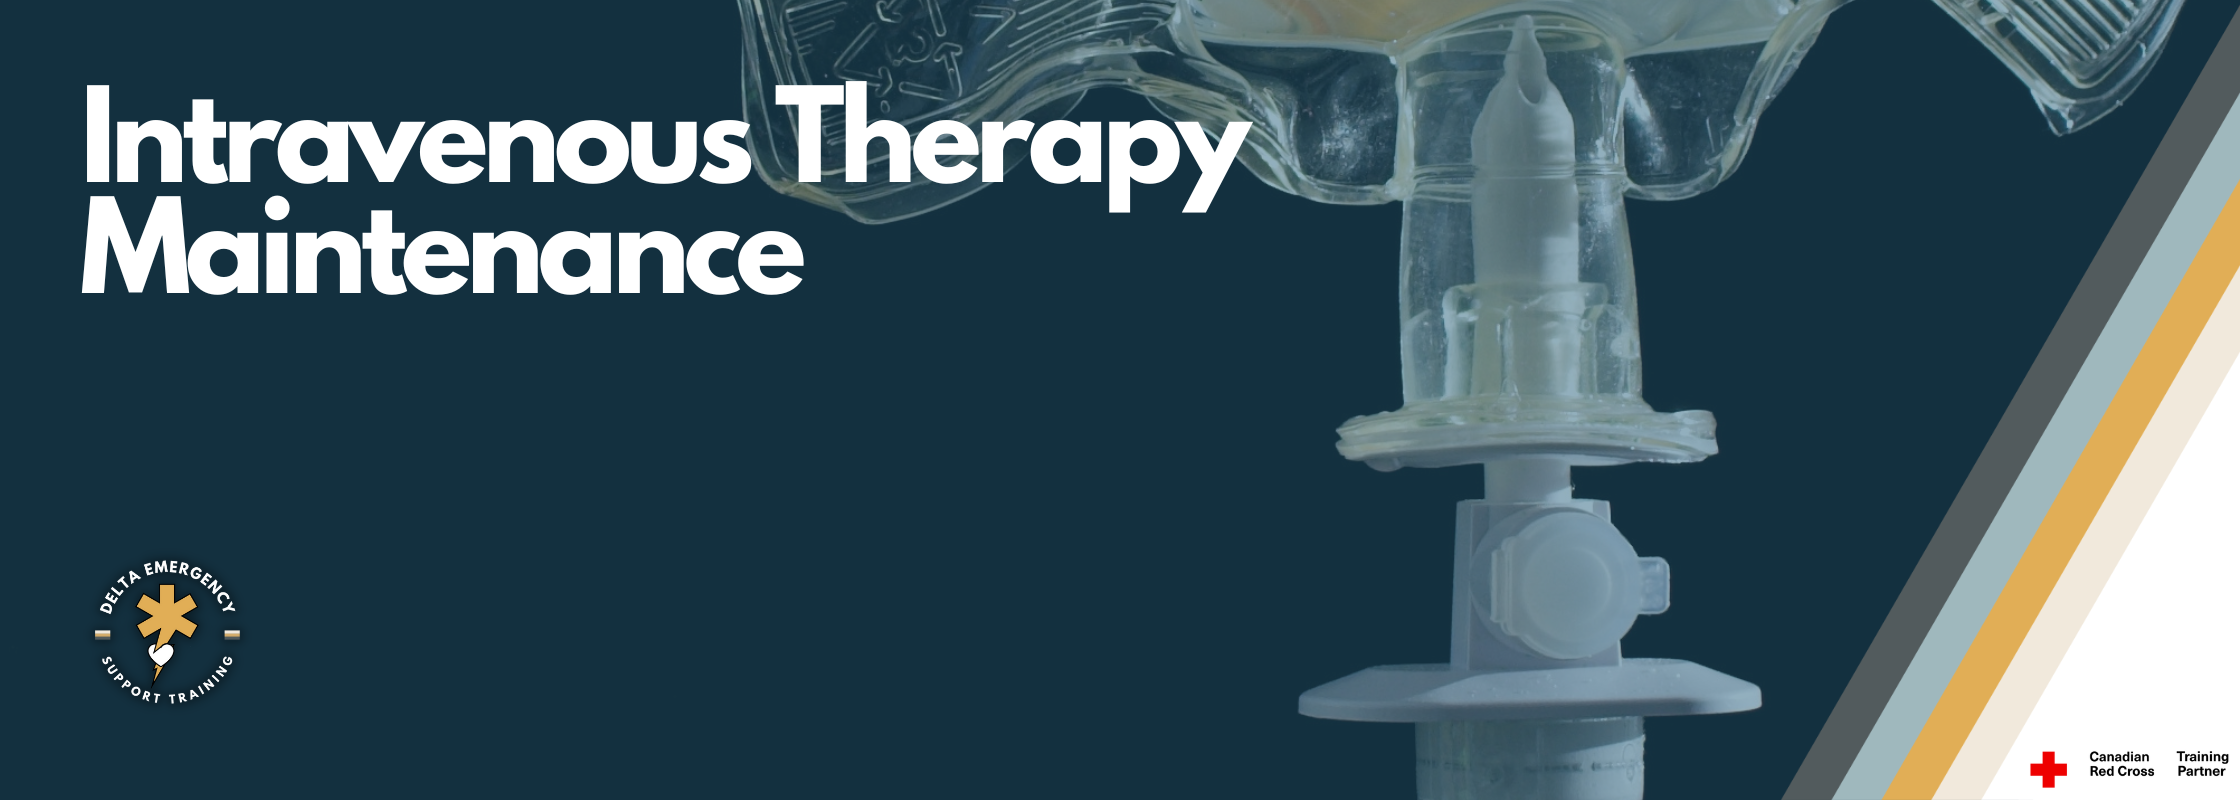
This topic is for Emergency Medical Responders, Interfacility Transfer Personnel, and Paramedic Assistants.
This topic focuses on the safe handling, monitoring, and troubleshooting of existing intravenous therapy lines during prehospital care or interfacility transfers. It emphasizes Red Cross and OH&S aligned best practices for fluid bag setup, equipment compatibility, patient monitoring, and documentation.
Section 1: Introduction to IV Therapy Maintenance
Topic 1.1: Purpose and Scope of IV Maintenance
Differences between IV initiation and maintenance
When EMR providers are permitted to assist
Legal and medical direction considerations
Topic 1.2: Indications for Fluid Maintenance in EMS
Common transport scenarios (e.g. dehydration, medication infusions, post-op patients)
Types of solutions commonly encountered (NS, D5W, RL)
Topic 2.1: IV Equipment Components
Primary fluid bag sizes (e.g., 250 mL, 500 mL, 1000 mL)
Fluid bag types (e.g., NS, RL, D5W)
Administration sets (macrodrip, microdrip)
IV extension sets and ports on the IV set
IV pole vs on-scene vs in-ambulance securing methods
Topic 2.2: Identifying and Labeling IV Fluids
Reading bag labels and expiry dates
Verifying doctor orders
Checking solution clarity, colour, leaks, and contamination
Topic 3.1: Preparing and Hanging an IV Bag
Opening supplies with clean technique
Spiking the bag and priming the line (removing air)
Adjusting drip chamber and flow clamp
Subtopic 3.1.1: Priming the IV Line – Step-by-Step
Remove protective caps
Invert bag and fill drip chamber halfway
Run fluid through tubing to expel all air
Clamp off and prepare for connection
Topic 3.2: Connecting to Existing IV Access
Cleaning port with alcohol
Attaching tubing to existing extension set or lock
Confirming secure connection without contamination
Topic 3.3: Ongoing Line Monitoring
Check for patency (no resistance or backflow)
Monitor for infiltration, phlebitis, or fluid overload
Watch for kinks, air bubbles, or disconnection
Topic 4.1: Common Issues and Corrections
Air bubbles in the line
Drip rate too slow or too fast
Occlusions or pump alarms
Leaking or disconnected tubing
Topic 4.2: When to Clamp or Stop an IV
Swelling or redness at site
Patient discomfort or pain
Fluid running dry
Signs of reaction or error
Topic 4.3: Documentation and Handover
Documenting fluid type, flow rate, volume given
Reporting problems or changes
Communicating with receiving facility
Topic 5.1: Setup and Priming Practice
Dry lab: practicing with expired bags and tubing
Repetition to build confidence and speed
Topic 5.2: Simulation Scenarios
Patient with sluggish flow
Line disconnected in transport
Fluid bag change mid-transfer
Topic 5.3: Team Communication
Working with paramedics or nurses
Clarifying when you're assisting vs initiating
Documentation review and sign-off
By the end of this session, participants will be able to: safely prepare and prime an IV fluid administration set, monitor IV flow and identify signs of complications, safely manage a compromised IV, accurately document and communicate IV status during patient handover.
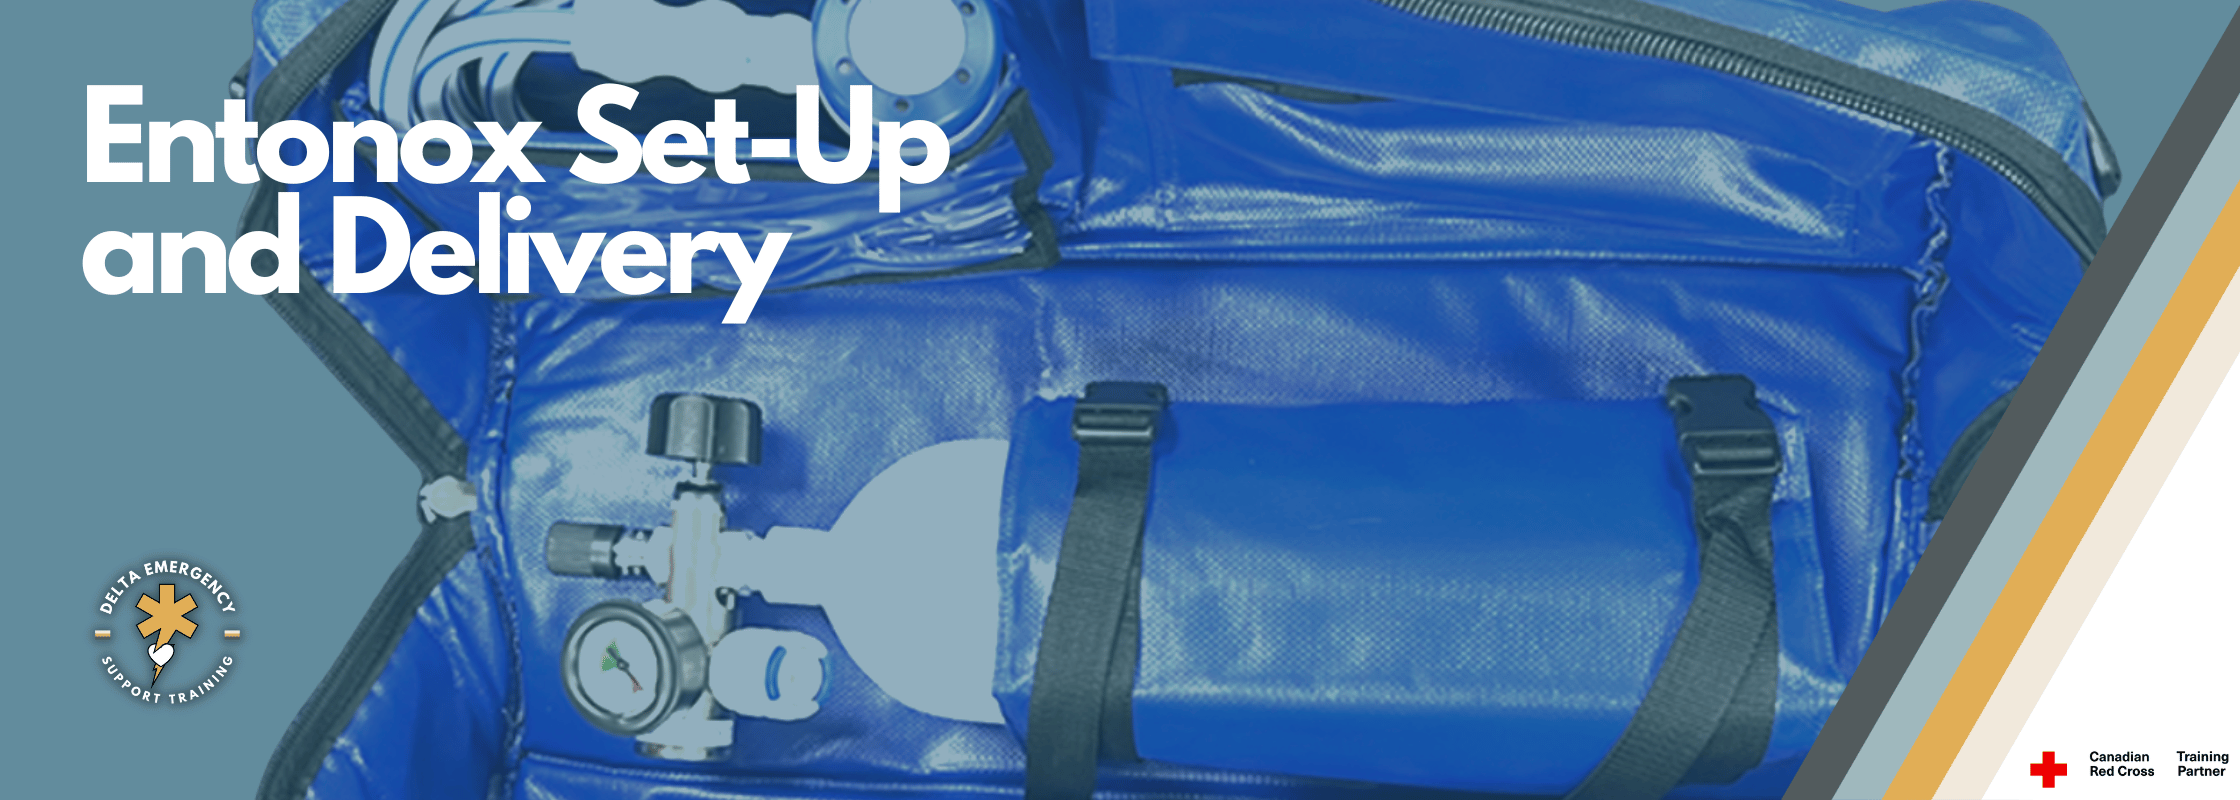
Welcome to your specialized training module on Entonox®, a gaseous analgesic that plays a vital role in emergency pain management. This lesson will equip you, as a new recruit in EMS under the EMR designation, with the knowledge and skills necessary to administer Entonox® safely and effectively.

Medication Overview for EMRs (First Responder Level)
Welcome to the pharmacology section of your EMR course. As an Emergency Medical Responder, you won’t carry or administer a full range of medications—but you will be expected to recognize them, know when they’re indicated, and either administer, assist, or withhold based on your provincial scope and the situation in front of you.
This module focuses on the core medications that Alberta Health Services (AHS) EMS allows First Responders / AFA / EMR-level practitioners to work with during emergency calls. You’ll see these drugs on shift; either administered by you, assisted by you, or already given by bystanders or patients themselves.
Medications You’ll Cover:
Acetylsalicylic Acid (ASA) – Administered for suspected heart attacks
Epinephrine (1mg/mL) – Assisted for severe allergic reactions (anaphylaxis)
Oral Glucose – Administered for low blood sugar
Ipratropium Bromide (Atrovent) – Assisted for bronchospasm
Naloxone (Narcan) – Administered to reverse opioid overdose
Nitroglycerin (Nitro Spray) – Assisted (if within scope, for EMRs in Alberta it's not, but you’ll see it)
Nitrous Oxide (Entonox) – Assisted by PCPs or higher in Alberta, used by EMRs in BC, often used in trauma
Salbutamol (Ventolin) – Assisted for bronchospasm, asthma or COPD
Each medication listed below comes with the full clinical picture—including trade names, indications, contraindications, dosing guidelines, and practical field notes based on AHS EMS protocols.
When you administer
When you can assist a patient
When you need to withhold due to risk
What you need to tell EMS when they arrive
What EMRs can and cannot do in Alberta
As an EMR, you don’t just memorize medications—you understand when and why they’re used. You need to be a bridge between the public and the paramedics, supporting early interventions, preventing harm, and improving patient outcomes before ALS arrives.